How to Crochet Straight Edges Every Time
Why is My Crochet Not Straight?
How many times have you crocheted a square or rectangle to find that your edges are not lining up?
Does your piece of crocheted fabric seem to be growing or shrinking, or both at once? Does your blanket or dishcloth slant to one side?
Rest assured you are not alone! Maintaining even edges was perhaps my biggest challenge as a crochet beginner. Crocheting straight edges is a skill that takes some time and experience to learn, but it is mostly a question of learning how to count your stitches and to “read” your crochet stitches.
One of the biggest challenges for beginner crocheters is creating straight edges. However, with the right techniques and tips, you can master this skill and create flawless projects every time.
How to Keep Crochet Edges Straight
1. Maintaining Tension While Crocheting
Maintaining consistent tension while crocheting is one of the keys to achieving even edges. Inconsistent tension can cause your stitches to be too loose or too tight, resulting in uneven edges. One way to maintain tension is to hold your yarn and hook in a comfortable and consistent manner.
2. Counting Your Stitches
Remember to count your stitches at the end of each row. Most patterns will specify how many stitches you should have at the end of each row or round. If you accidentally add or skip stitches, you will have more or fewer stitches than the row before, and your crochet will start to become uneven.
3. Turning Chains and Stitch Placement
Be aware of your turning chains and into which stitch of the previous row you will place the first stitch of the new row. When starting a new row, you will usually create a “turning chain” (one, two or three chain stitches that bring your yarn and hook up to the proper height to begin the new row).
Counting the Turning Chain as a Stitch
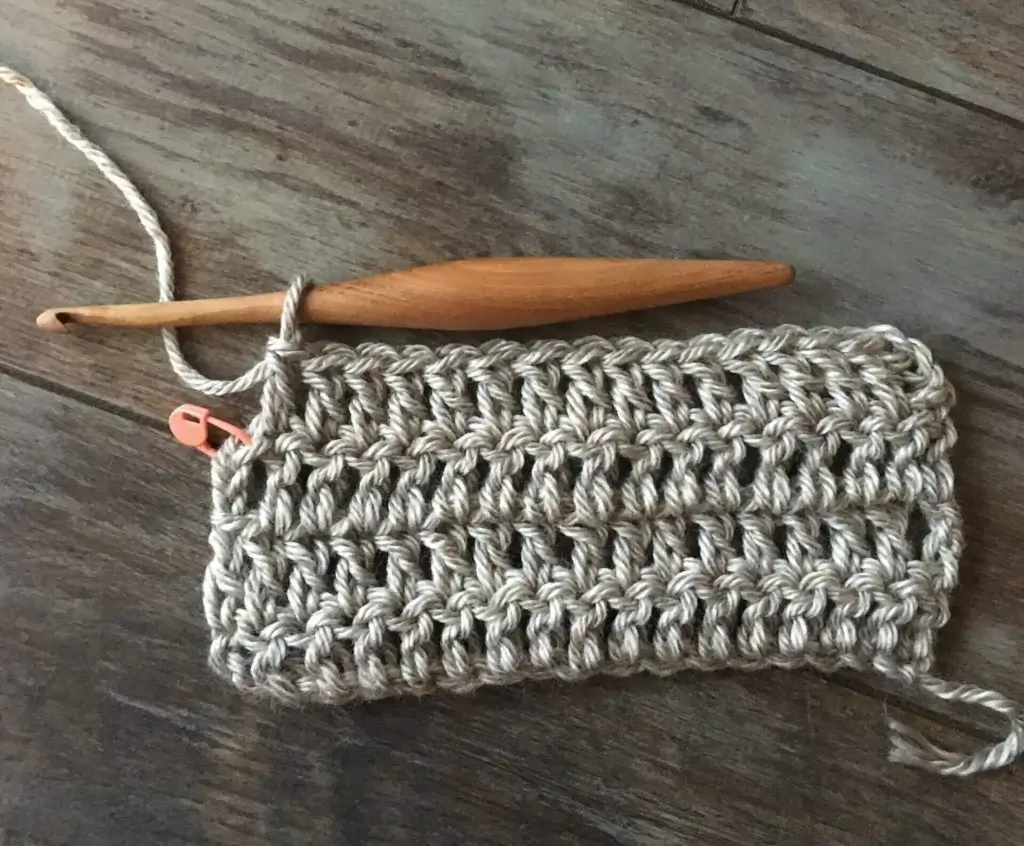
Does the pattern treat the turning chain as the first stitch of the new row? In that case, you will skip the first stitch of the row beneath and place the second stitch of the new row into the next stitch. Place the last stitch into the top of the turning chain of the previous row. Be sure to include the turning chains when you are counting stitches.

When the Turning Chain Does Not Count as a Stitch
Does the pattern specify that the turning chain is not to be counted as a stitch? In this instance, ignore the turning chain and place the first stitch of the new row into the very first stitch of the row beneath. Do not place any stitches or crochet into the turning chains at the end of each row, and do not count the turning chains when you are counting stitches.
Keep in mind that an exception to this rule is in rows of single crochet, where you will always chain 1 for the turning chain and it will never count as a stitch.
If a pattern doesn’t specify which method to use when crocheting in rows, use whichever of these methods you like best, or even use the method you prefer no matter what is written in the pattern, as long as you stay consistent in your modification! I like to count the turning chain as the first stitch, in spite of the fact that there will be a small gap in between the turning chain and the next stitch. Many people like to ignore the turning chains, though this will give the edges a slightly “bumpier” look. Seaming the edges together or adding a border will minimize the effect of either technique.
Conclusion on Achieving Even Edges in Crochet
Achieving even edges in crochet is a crucial skill that can take your projects to the next level. While it may take some practice and patience, with the right techniques and tools, it’s possible to achieve even edges every time. Remember to count your stitches, maintain consistent tension, and use techniques such as chaining and stitch placement to create straight and even edges. With these tips and tricks, you’ll be well on your way to mastering the art of crochet.

