Beginner Crochet: How to Begin a Project With a Slip Knot
Materials Needed
For this exercise, you can use any size crochet hook and yarn. Beginners may find it easiest to use a medium size hook (5 mm to 6 mm) and a worsted weight yarn (see Crocheter’s Guide to Yarn Weights for more information).
Step-by-Step Instructions for Creating a Slip Knot
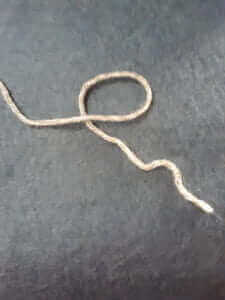
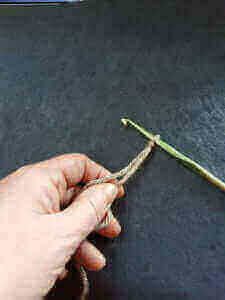
Step 1: Hold the yarn in your left hand, with the working end of the yarn (the longer end that is coming from the ball of yarn or skein) on your left and the tail end (shorter end) to the right. Hold the crochet hook in your right hand. (Reverse these instructions if you are left-handed.) Make a loop with the longer end of the yarn crossing over on top of the shorter end.
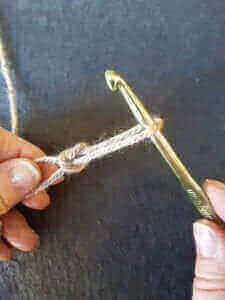
Step 2: Pinch the loop at the spot where the strands cross. Insert the crochet hook into the loop from front to back.
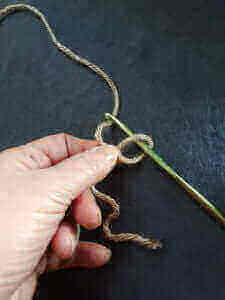
Step 3: Use the hook to grab the strand of the working end and pull it through the loop.

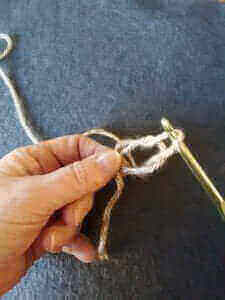
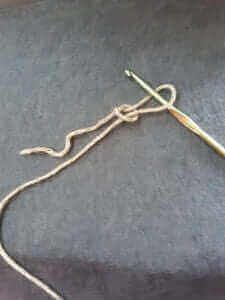
Step 4: Pull on the yarn ends to tighten and secure the slip knot on the crochet hook.
You are now ready to begin crocheting!
Watch this video tutorial for a demonstration in real time:
Common Mistakes When Creating a Slip Knot
As with any new skill, it’s easy to make mistakes when creating a slip knot. Here are some common mistakes to watch out for:
1. Creating a slip knot that is too loose or too tight. It’s important to find the right balance so that the knot is secure but not too tight that you can’t work with it.
3. Pulling the tail of the yarn too hard when tightening the knot. This can cause the knot to become too tight and difficult to work with.
FAQ’s
Does the crochet slip knot count as a stitch or a chain?
The slip knot does not count as a stitch, although it will form the base for your first stitch. You should also never count the loop of yarn that is on the hook as a stitch.
What is the difference between a slip knot and a slip stitch?
A slip knot is an easy adjustable knot that attaches the yarn to your crochet hook so that you can begin crocheting. A slip stitch is a crochet stitch that is made by inserting your hook into another stitch, yarning over and pulling through both the stitch and the loop on your hook at the same time. This stitch is often used to seam together pieces of crochet.
What is the best way to make a secure slip knot?
It’s important to start and end your projects in a way that will discourage your crochet from unraveling! The method I’ve shown here in this blog post is usually called a “locking” slip knot: pulling on the longer end or the end that leads to the ball of yarn tightens the knot. Another method is the “adjustable” slip knot: pulling on the short end tightens the knot.
The “locking” version is usually more secure! But many crocheters like to use the “adjustable” version when crocheting a circle or granny square, since it allows you to pull the center of the piece tightly to close up the hole in the middle. Whichever you choose, always leave at least a 4 to 6 inch tail and weave it in securely when finishing your work.
Conclusion
If you’re interested in learning more about crochet, consider exploring other techniques and projects. There are endless possibilities when it comes to crochet, and the more you learn, the more you’ll be able to create. Happy crocheting!
