
Solstice Hat: Free Crochet Pattern
This free crochet hat pattern is perfect for beginners.
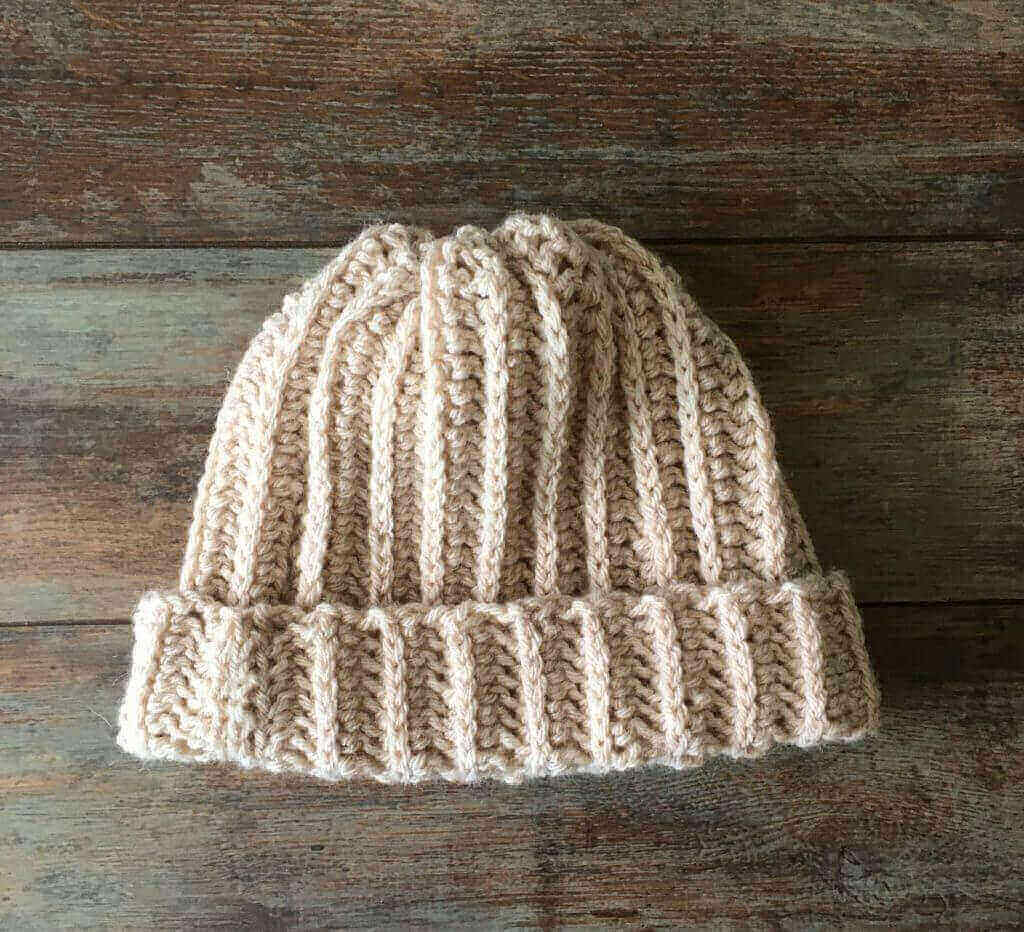
Using half double crochet stitches, create a warm and stylish winter hat that is flattering on men or women. This hat is worked side to side and then seamed together. Wear with the edge folded up to create a brim and a classic beanie look, or unfolded for the trendy slouchy look.
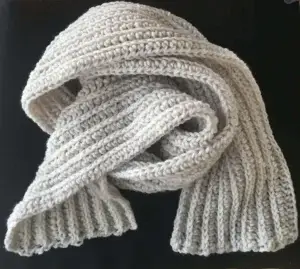
For an added touch of warmth and stylishness, try the matching Solstice Scarf, Fingerless Mitts or Solstice Mittens.
This page includes affiliate links. As an Amazon Associate, I earn money from qualifying purchases. If you make a purchase from these links, I may make a small commission at no cost to you. Thank you for your support!
Introduction
The Solstice Hat uses the technique of half double crochet in the third loop (sometimes called the “camel stitch”) to create a super stretchy knit-look texture that is also reversible. When half double crochet stitches are worked, there is a “third” loop that is created in the back of the stitch – crocheting into this loop creates the special ribbed texture.
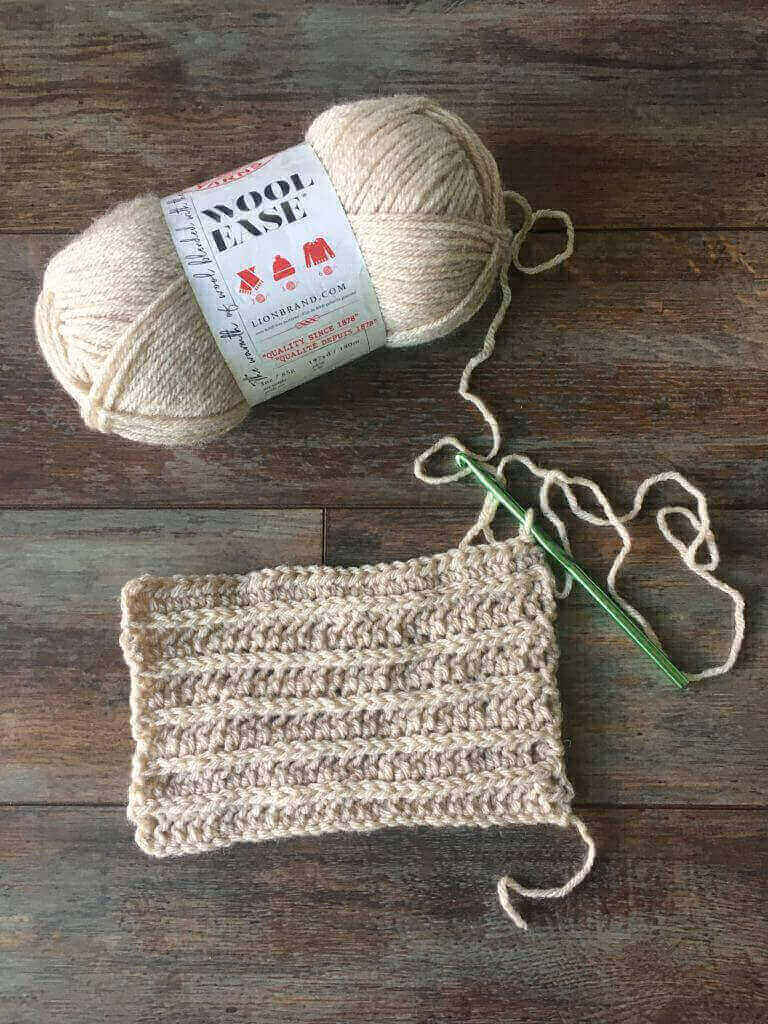
To make this hat, I used Lion Brand Wool-Ease (80% acrylic, 20% wool), which has a wonderful stretchy quality and a little bit of a fuzzy haze. You can substitute another heavy worsted or aran weight yarn, but be sure to check your gauge carefully. Use a hook one size smaller or larger if needed, and you can always make the hat longer or shorter by adding on or subtracting starting chains.
Crochet Pattern
Solstice Hat
Difficulty Level:
Easy
Sizes:
Adult Small, (Adult Medium, Adult Large, Adult XL)
Finished Dimensions:
This hat is designed to have up to 1″ (2.5 cm) of stretch (negative ease).
Adult Small: 18″ (46 cm) circumference, 10″ (25.5 cm) length
Adult Medium: 19″ (48 cm) circumference, 11″ (28 cm) length
Adult Large: 19.5″ (49.5 cm) circumference, 11.5″ (29 cm) length
Adult XL: 20.5″ (52 cm) circumference, 11.5″ (29 cm) length
Yarn weight:
Size 4, aran weight
Materials:
1 skein of Lion Brand Wool-Ease (3 oz/ 85g ; 197 yards / 180m)
Crochet hook, size 6 mm (US J/10)
Gauge (Tension):
14 stitches and 10 rows = 4” (10 cm) in hdc in the third loop
Abbreviations Used:
ch – chain
hdc – half double crochet
st – stitch
sts – stitches
Special Stitches:
Half double crochet (hdc) in the third loop: Yarn over, insert hook into the third loop at the back of the hdc stitch, yarn over and pull up a loop (3 loops on hook), yarn over and pull through all three loops on the hook.

Notes:
- This pattern is written in US crochet terms.
- Instructions are written for size Adult Small, with other sizes shown in parentheses. When only one number is given, it applies to all sizes.
- This pattern treats the two chains at the beginning of each row (the turning chain) as the first stitch. Don’t put a half double crochet into the very first stitch of the row below, instead go to the very next stitch to complete the second half double crochet. At the end of the row, put the last half double crochet into the top of the turning chain. (As an alternative, you can ignore the turning chain and put a half double crochet into the very first stitch of the previous row. If you choose this approach, be sure not to crochet into the turning chain at the end of each row, and don’t count the turning chains when you are counting your stitches.)
Instructions:
Beginning chain:
Ch 36 (40,41,41), turn.
Row 1:
Hdc in the third ch from the hook, then hdc in the next ch and each ch to the end of the row. You will now have a row of 35 (39,40,40) hdc stitches.
Row 2:
Ch 2 (counts as a stitch here and throughout), turn. Skip the first st. Hdc in the third loop of the next st and in each st to the end of the row.
Rows 3-44 (47,48,50)
Repeat row 2.
For size Adult Small:
Row 45:
Ch 2, turn. Skip the first st. Hdc in the third loop of the next st and in each st to the end of the row. Fasten off.
For size Adult Medium:
Row 48:
Ch 2, turn. Skip the first st. Hdc in the third loop of the next st and in each st to the end of the row. Fasten off.
For size Adult Large:
Row 49:
Ch 2, turn. Skip the first st. Hdc in the third loop of the next st and in each st to the end of the row. Fasten off.
For size Adult XL:
Row 51:
Ch 2, turn. Skip the first st. Hdc in the third loop of the next st and in each st to the end of the row. Fasten off.
Finishing:
You will now have a finished piece of fabric in the shape of a rectangle. Fold the fabric over so that the last row of stitches that you crocheted meets the first row of stitches. Using a yarn needle and about 15 inches of yarn, seam the sides together.
The fabric is now in the shape of a tube. At one open end, weave about 12 inches of yarn evenly through the stitches at the top, then pull tight to close together and form the top of the hat. Fasten off. Weave in all loose ends.
I hope you enjoy wearing the Solstice Hat or giving it as a gift!

© 2022 by Candice Lynn (Crochet Confidential). This pattern is for personal use only. You may use the pattern to make unlimited items for yourself, for charity, or to give as gifts. You are free to sell the items you make with this pattern. Do not distribute this pattern or the photos in any form — if you want to share the pattern, point your friends to this link: https://crochetconfidential.com/solstice-hat-free-crochet-pattern/. Thank you for your support!


I would like to make this hat in children’s sizes. Seems to me it shouldn’t be too hard to adjust stitch count since it is worked side to side. Would really appreciate any advice!
This should be an easy adjustment for this pattern!
Going by the suggested sizes at the Craft Yarn Council, the typical head circumference for a baby is 14 – 16 inches, for a toddler 16 – 18 inches, and for a child 18 – 20 inches. If you can take a measurement in person, that will be an even better starting point!
You can make your starting chain and stop when it measures the required number of inches for the the height you would like (typical beanie hat height is 5 inches for baby, 6 inches for toddler, 7 inches for child or tween; or longer for a slouchy hat style).
Then keep crocheting rows until you reach the measurement of the circumference (make it an inch or so smaller for a more snug fit, this stitch pattern has plenty of stretch).
For this pattern, you might try making a starting chain of 24 stitches and 35 rows for baby size; 27 stitches and 40 rows for toddler size; 30 stitches and 42 rows for child size.
has anyone made this hat? so confusing, wondering if others are having issues. can’t get past row 3!
Hi! My best guess about what is challenging about this pattern is how to treat the turning chains at the beginning and end of the rows in order to get the right stitch count and make straight edges.
This pattern treats the two chains at the beginning of each row (the turning chain) as the first half double crochet (don’t put a half double crochet into the very first stitch in the row below, instead go to the very next stitch to complete the row).
At the end of the row, put the last half double crochet into the top of the turning chain.
Alternatively, you can ignore the turning chain and put a half double crochet into the very first stitch of the previous row. If you choose this approach, be sure not to crochet into the turning chain at the end of each row, and don’t count the turning chains when you are counting your stitches.
Hope this helps!
I’ve added this tip to the Notes section of the pattern.
I just completed this hat it’s so easy to do. After you do your row 3 just repeat the pattern chain 2 at the end of every row and then use the front loop with the hdc stitch