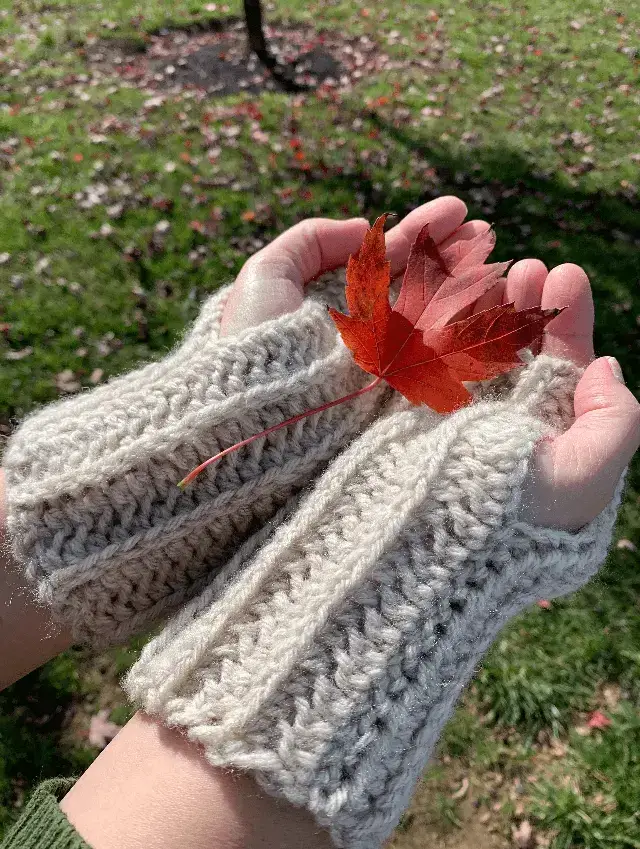
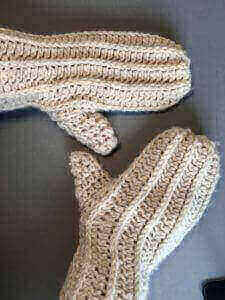
Free Crochet Pattern – Solstice Fingerless Mitts
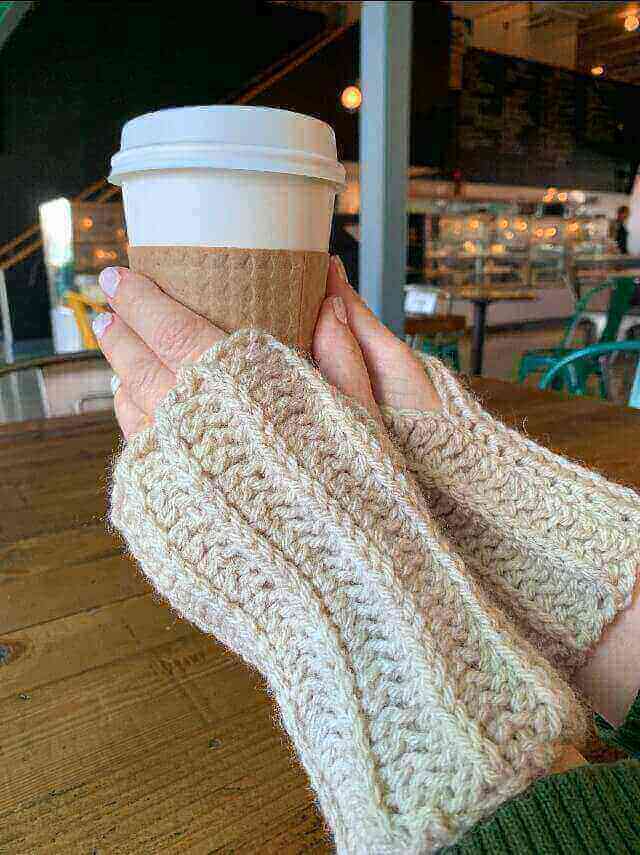
These super simple and chunky finger-less mitts are perfect for a chilly day full of fun. Whether you call them wrist warmers, hand warmers, or texting gloves, this is an enjoyable and quick project that you can create in an afternoon or a weekend.
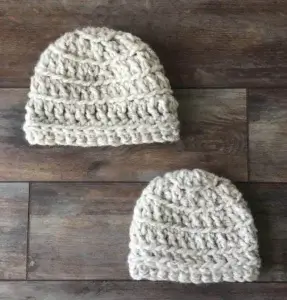
Wear with the bottom edge folded up or unfolded for a trendy look. Pair with the Solstice Hat or Scarf for a matching set, or try the complete Mittens.
This page includes affiliate links. If you make a purchase from these links, I may make a small commission at no cost to you. Thank you for your support!
Free Crochet Pattern – Solstice Finger-less Mitts
By Candice Lynn
Skill Level:
Easy
Materials:
1 skein Lion Brand Wool Ease 80% Acrylic, 20% Wool
J-10 (6 mm) crochet hook
Sizes:
XS (S,M,L,XL)
Instructions are written for XS, with other sizes shown in parentheses. When only one number is given, it applies to all sizes.
Mitts are designed to have .5 inch (1.3 cm) to 1 inch (2.5 cm) of negative ease (stretch).
To find your size, measure your hand around the widest part (where the fingers meet the palm).
Size Actual hand measurements (circumference)
Adult XS – 7 in (17.7 cm)
Adult Small – 7.5 in (19 cm)
Adult Medium – 8 in (20.3 cm)
Adult Large – 8.5 in (21.6 cm)
Adult XL – 9 in (23 cm)
Finished dimensions:
7.5 (8, 8.5, 9, 10) inches length and 6.5 (7, 7.5, 8, 8.5) inches circumference
[19 (20.3, 21.6, 23, 25.4) cm length and 16.5(17.7, 19, 20.3, 21.6 ) cm circumference]
4 ” (10 cm) = 14 stitches and 10 rows in half double crochet in the third loop
Pattern Notes
This pattern uses US crochet terms.
Treat the two chains at the beginning of each row (the turning chain) as the first stitch. Don’t put a half double crochet into the very first stitch of the row below, instead go to the very next stitch to complete the second half double crochet. At the end of the row, put the last half double crochet into the top of the turning chain. (As an alternative, you can ignore the turning chain and put a half double crochet into the very first stitch of the previous row. If you choose this approach, be sure not to crochet into the turning chain at the end of each row, and don’t count the turning chains when you are counting your stitches.)
To create a super stretchy ribbed fabric that is also reversible, this pattern uses half double crochet in the third loop (sometimes called the “camel stitch”). When half double crochet stitches are worked, there is a “third” loop that is created in the back of the stitch – crocheting into this loop creates the special knit look texture.

Special Stitches
Half double crochet (hdc) in the third loop: Yarn over, insert hook into the third loop of the hdc stitch, yarn over and pull up a loop (3 loops on hook), yarn over and pull through all three loops on the hook.
ch = chain
hdc = half double crochet
st = stitch
sts = stitches
Instructions: (Make 2)
Ch 27 (29,31,33,36)
Row 1
Hdc in the 3rd ch from the hook, then hdc in each of the next 24 (26, 28, 30, 33) sts to the end of the row.
Row 2
Turn, ch 2 (counts as the first stitch here and throughout). Skip the 1st hdc. Hdc in the third loop of the next hdc and each hdc to the end of the row. [26 (28, 30, 32, 35) sts]
Rows 3 through 16 (17,19,20,21)
Repeat instructions for Row 2. Fasten off.
Finishing
You will now have a rectangle of crocheted fabric. Fold the fabric in half so that the foundation chain meets the last row worked.
Use stitch markers to indicate the stitches that are to be left unseamed for the thumb opening.

Using an approximately 10” length of yarn and a yarn needle or tapestry needle, seam the edges of the first and last rows together, from the first stitch until stitch number 13. Use stitch markers to indicate stitches 14 – 19 (14 – 20, 14 – 21, 14 – 22, 14 -23). These stitches will be left open in order to create the opening for the thumb. Fasten off, then skip over the next 6 (7, 8, 9, 10 ) stitches to create the thumb opening. Reattach the yarn and continue seaming the rest of the stitches. Fasten off.
Weave in loose ends.
© 2022 by Candice Lynn (Crochet Confidential). This pattern is for personal use only. You may use the pattern to make unlimited items for yourself, for charity, or to give as gifts. You are free to sell the items you make with this pattern. Do not distribute this pattern or the photos in any form — if you want to share the pattern, point your friends to this link: https://crochetconfidential.com/free-crochet-pattern-solstice-fingerless-mitts/. Thank you for your support!
Linking up to The Stitchin’ Mommy, Oombawka Crochet Design, Loops and Love Crochet, Grace and Yarn, Free-Crochet-Patterns, Moogly, Petals to Picots

These are perfect for the cooler weather this fall! Thank you for linking up at our weekly Link Party! You are being featured at our Wednesday Party #477 this week. Here’s the direct link to the post in case you’d like to share your feature after it is published on Wednesday:
https://oombawkadesigncrochet.com/easy-crochet-snowflakes-broccoli-solstice-fingerless-mitts-link-party-477/
Hope to see you again next week! Rhondda